
“Tell me and I forget, teach me and I may remember, involve me and I learn.
— Benjamin Franklin
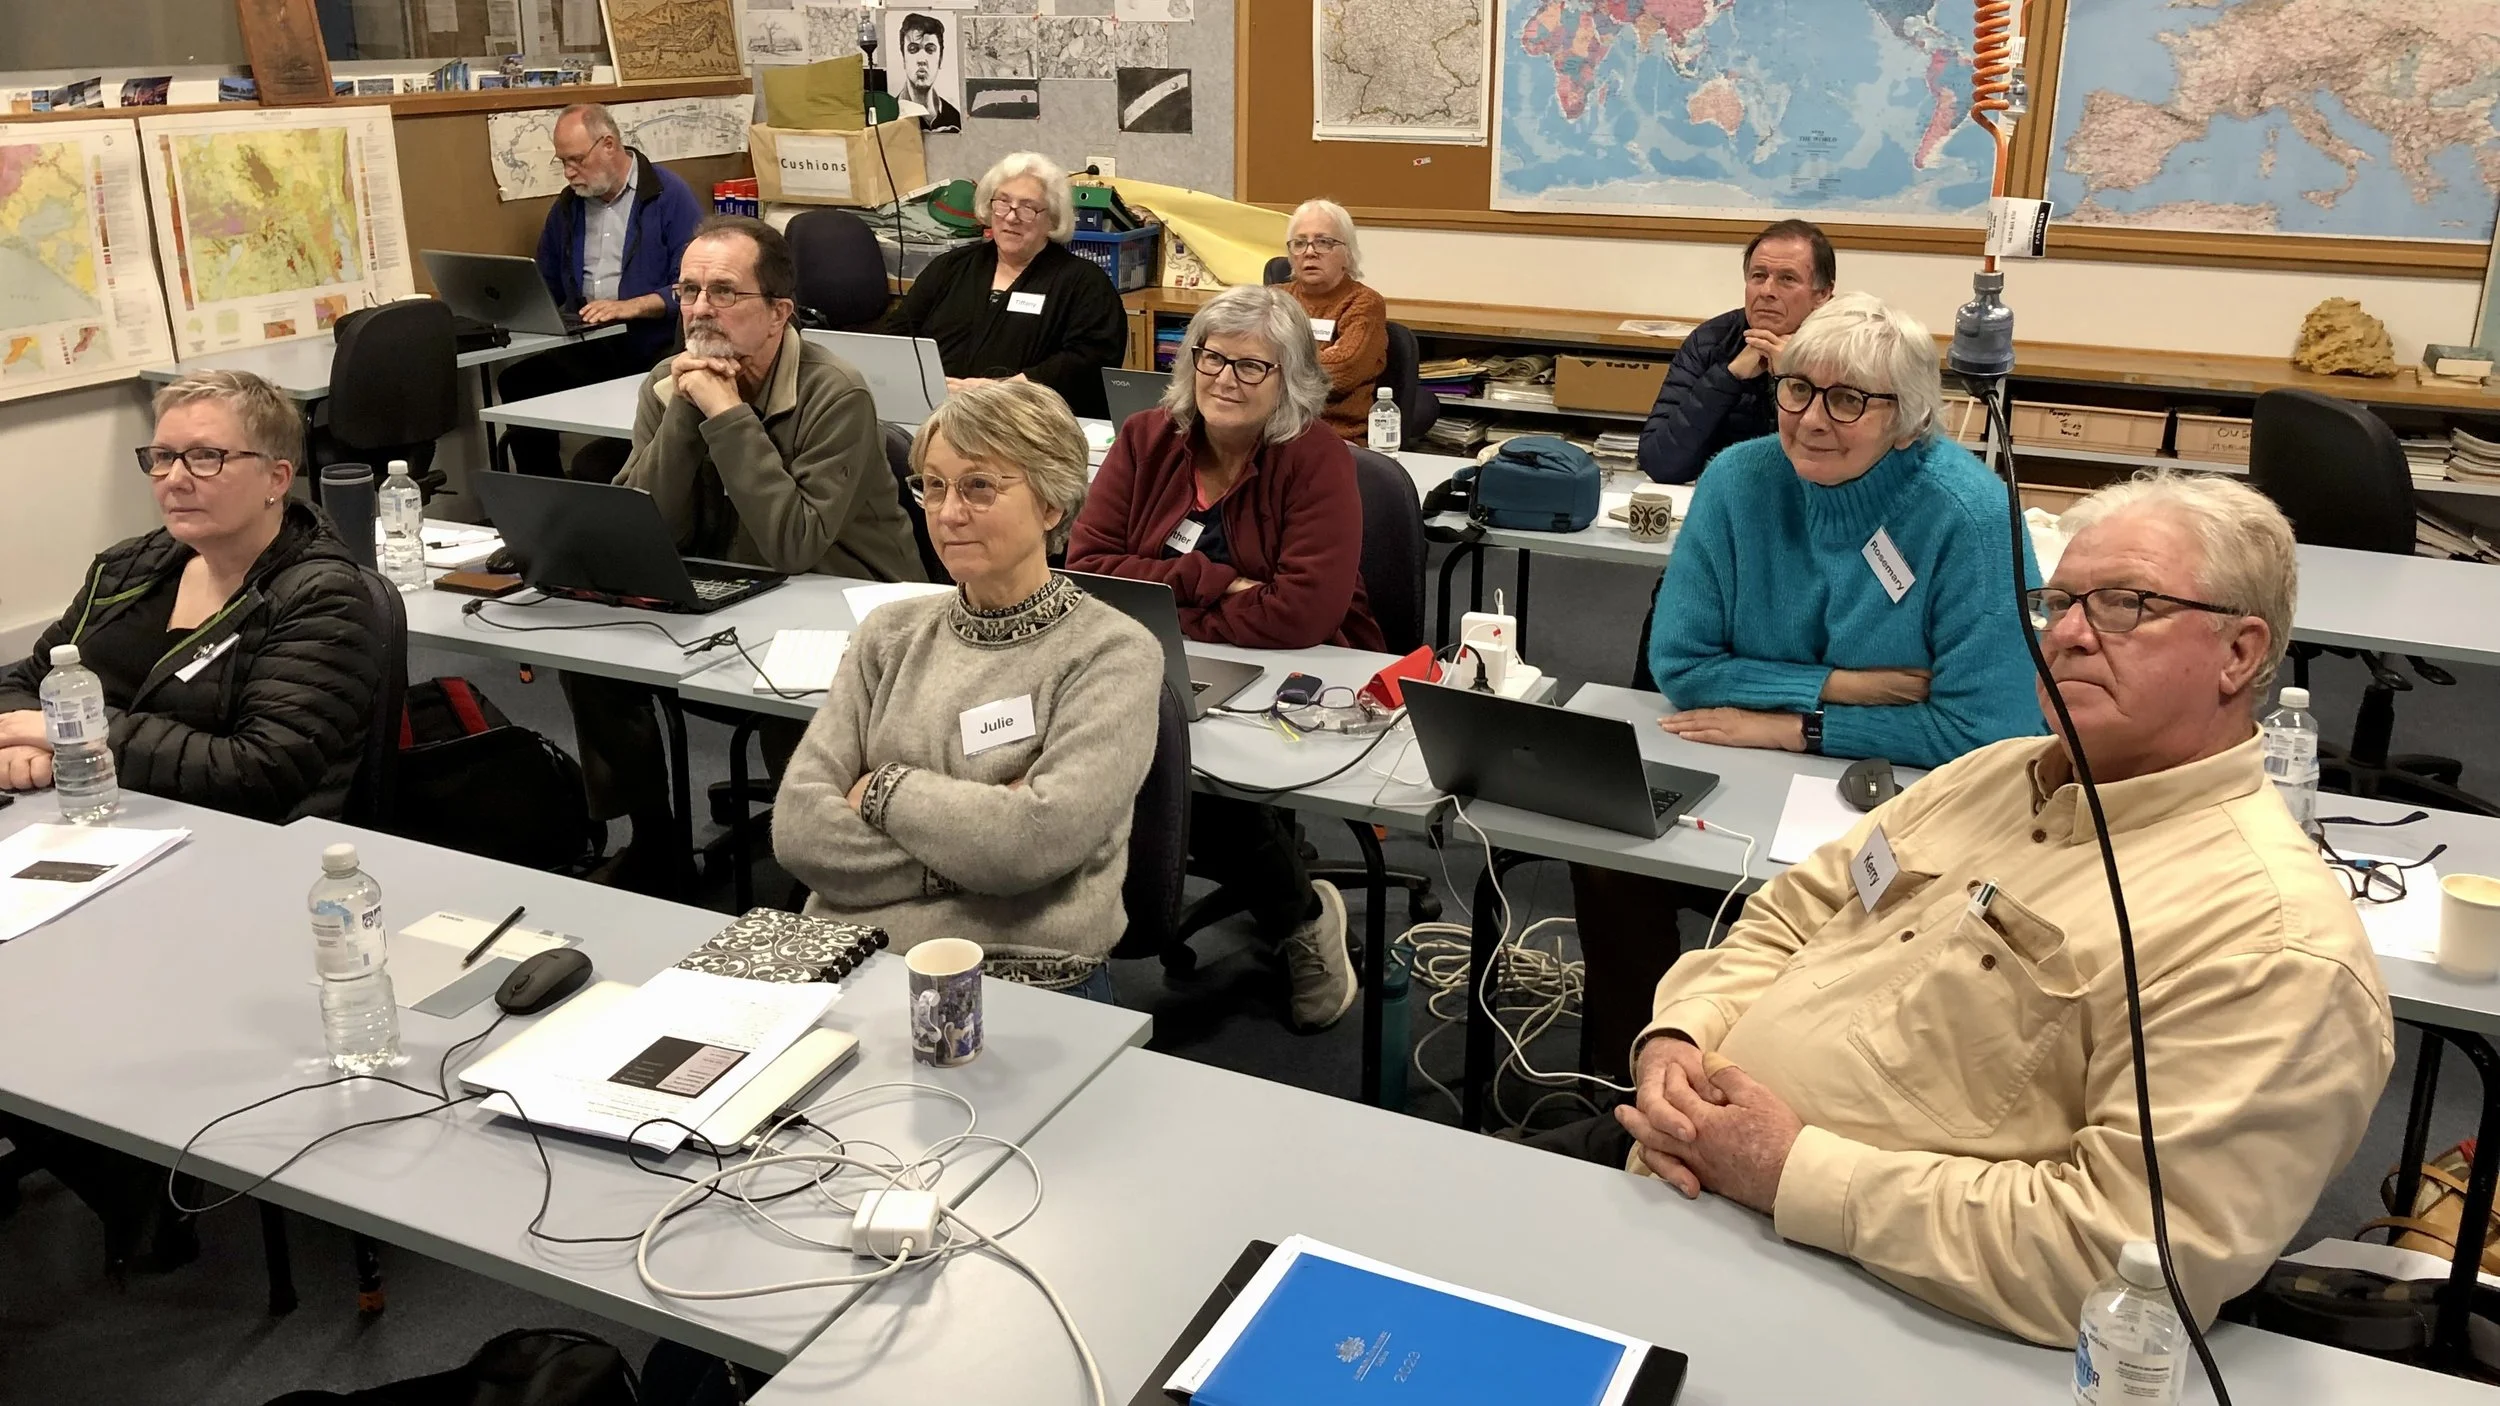
Workshops are a great way to improve your skills, meet people from other clubs, and gain inspiration from some of South Australia’s top photographers. Please note! All workshop participants are required to read and accept the Courses and Workshops Terms and Conditions available by clicking the coloured link.
2026 Workshop Schedule
Enrolments for these workshops will open one month in advance. Please continue to watch the website for any date changes and additional workshops as they are scheduled.
Post Processing Using a Simple Workflow in Photoshop 27 and 28 June - Yorketown — David Munro. CLOSED
Adobe Lightroom (Basics) 4 and 25 July — Mark O’Reilly. CLOSED
Adobe Lightroom (Intermediate) 8 August — Bill Shields.
Street Photography 5 and 12 September — Chris Schulz. [NOTE: the dates have changed]
DxO Software - Life after Adobe - or better with it! 10 and 17 October — Alan Bevan.
Night Architecture 14 and 24 October — Robert Dettman.
Nature and Wildlife 31 October — Amanda Luker.
Post processing using a simple workflow in Photoshop

Post processing using a simple workflow in Photoshop
27 and 28 June 2026
Location: Weaners Flat Reserve, Progress Meeting Room, 33 Stansbury Road, Yorketown.
Time: 10 am to 3 pm
Click here to download a PDF version of this text
Photoshop is a large, complex, and comprehensive application and can often be daunting to learn. This course introduces a simple yet powerful Photoshop workflow for post-processing your RAW files. By introducing only a small number of concepts and tools and using them consistently, the aim is to give you confidence and success in processing your images in Photoshop. Once you have practice and experience with this workflow, you should be able to build on it to learn more complex areas of PS.
The Tutor – David Munro
David Munro took up photography as a retirement hobby around 2017, developing a keen interest in landscapes and nature. Since then, he has won several awards at local, national and international competitions. These include overall winner at the 2018 SA Seniors Card ‘Through the Lens’ Competition, winner of the aerial category in the 2021 International 360° Photo Awards, an APS gold medal at the 2024 Edwardstown National and two first places in the 2024 SAPF Annual Exhibition. David currently holds the EFIAP and FAPS honours distinctions.
In his professional career, David was an Associate Professor at the University of Adelaide and has over 34 years of teaching and research experience in Computer Science
Requirements
No previous experience with Photoshop is assumed, but some knowledge of Lightroom Classic is required.
The latest versions of Lightroom Classic and Photoshop, as part of the Adobe Creative Cloud, will be used in the program. However, almost everything covered in the course should work the same way in older versions. Please ensure you are using Lightroom Classic and not other versions of Lightroom, as they are different software programs.
Sections of this course are interactive. Hence, you will need to bring along a fully charged laptop with Lightroom Classic and Photoshop already installed. Raw images will be provided for practise, but if you have images on your own that you would like to work on, please ensure that the Lightroom catalogue on your laptop can access them and that they are in raw format. Any genre will do, but landscapes are great to practise on.
Preparation
Participants will be asked to set up the Photoshop workspace to be used prior to the workshop. Instructions for doing this will be distributed approximately 10 days prior to the workshop. If assistance is needed to achieve this, this will be provided on the day of the workshop. Course notes will also be distributed to participants approximately 10 days before the course starts. Additionally, a number of RAW images will be made available for practising skills. Please import these into Lightroom Classic into a folder called Photoshop Workshop 26.
Other handouts will be provided after Session 1.
These support materials will be distributed to you via WeTransfer, as this program supports larger files. This means you will have three days to download the information before the files become unavailable. Please watch your email system for emails from WeTransfer. If you are unable to download the files within the time, please contact the SAPF Course Coordinator, and the files can be resent to you. The email address is at the end of the document.
The sessions will cover the following topics:
Starting off in Lightroom
Lens correction
Some noise reduction and sharpening
Adjust highlights (for landscapes)
Horizon straightening and optionally first crop
Creating a user preset
Moving to Photoshop
Setting up your workspace
Keyboard commands and general navigation
Duplicating the background layer
Removing dust spots and unwanted items
Photoshop crop tool
Saving your work back to Lightroom
Workflow principles
Brightness adjustments
Contrast adjustments
Colour adjustments
Final adjustments
Creative sharpening/clarity
Creative effects/filters/plugins
Non-destructive edits using Adjustment layers
Auto curves
Adjustment layers
Layer masks
Using Brushes
Solid colours and blend modes
Photo filters
Blend If
Final Adjustments
Merging up layers
Smart filters
Adding a stroke around the border
Some creative techniques - e.g. motion blur, Gaussian blur
Using external tools, e.g., Topaz Denoise and Nik Collection
The course will be delivered over two sessions. What is covered in each session is fluid, depending on how everyone is progressing. However, here is a working guide.
Session One
A quick demo outlining the editing workflow the tutor uses.
Starting off in Lightroom, then moving to Photoshop
Interactive session with your laptops using what has been covered so far
A brief introduction to Adjustment Curves, Layer Masks and Brushes
Interactive session using what has been covered so far
Some ideas you may want to try at home
Session Two
Recap on Session One
Workflow principles and non-destructive edits using Adjustment layers
Interactive session using the elements from Sections 3 and 4
As much on Final Adjustments as time permits
Summary
Catering:
A local caterer has been organised to provide lunch on both days as it is possible that local stores will not be open, particularly on the Sunday. The menu is a light lunch style offering of soup, sandwiches, fresh fruit, fresh sweet and savoury bakes. The cost will be $40 for both days. Payment will be on the first day and payment can be EFT or cash. Light morning and afternoon tea will also be available. In the enrolment process, you will be asked to confirm that you want to purchase lunch and whether you have any special dietary requirements.
Cost
$100 per person.
Payment
Payment can be made using your credit or debit card, or via PayPal. If you are reading this on a PDF, please visit the SAPF website https://www.sapf.org.au/courses for more information.
Agreement
Please read the SAPF Workshops and Courses – Terms and Conditions attached to this document (also available on the SAPF website under ‘Workshops’). Registering and paying for the course assumes you accept these terms.
Enquiries
Contact the SAPF Course Coordinator (Margaret Phillips), coursecoordinator@sapf.org.au